Today's been hot, hot, hot! I mean, it's lovely, don't get me wrong. Wall to wall sunshine makes you feel good, but - but - you see, the gardener in me is pining for rain. A deluge. A downpour. Thunder and lightning would be an added bonus as I love a good storm. The garden and allotment are desperate for rainfall, and the two water butts by the back door have barely a thimbleful left in them. I keep topping up the makeshift bird bath, and refilling the bowl of pebbles and water left out for bees, wasps and other fluttery, buzzing creatures, and I worry that lots of people aren't doing the same. Our thirsty wildlife need all the help they can get. At least I can turn on the tap when I'm in need of drinking water, but the poor things can't do the same.
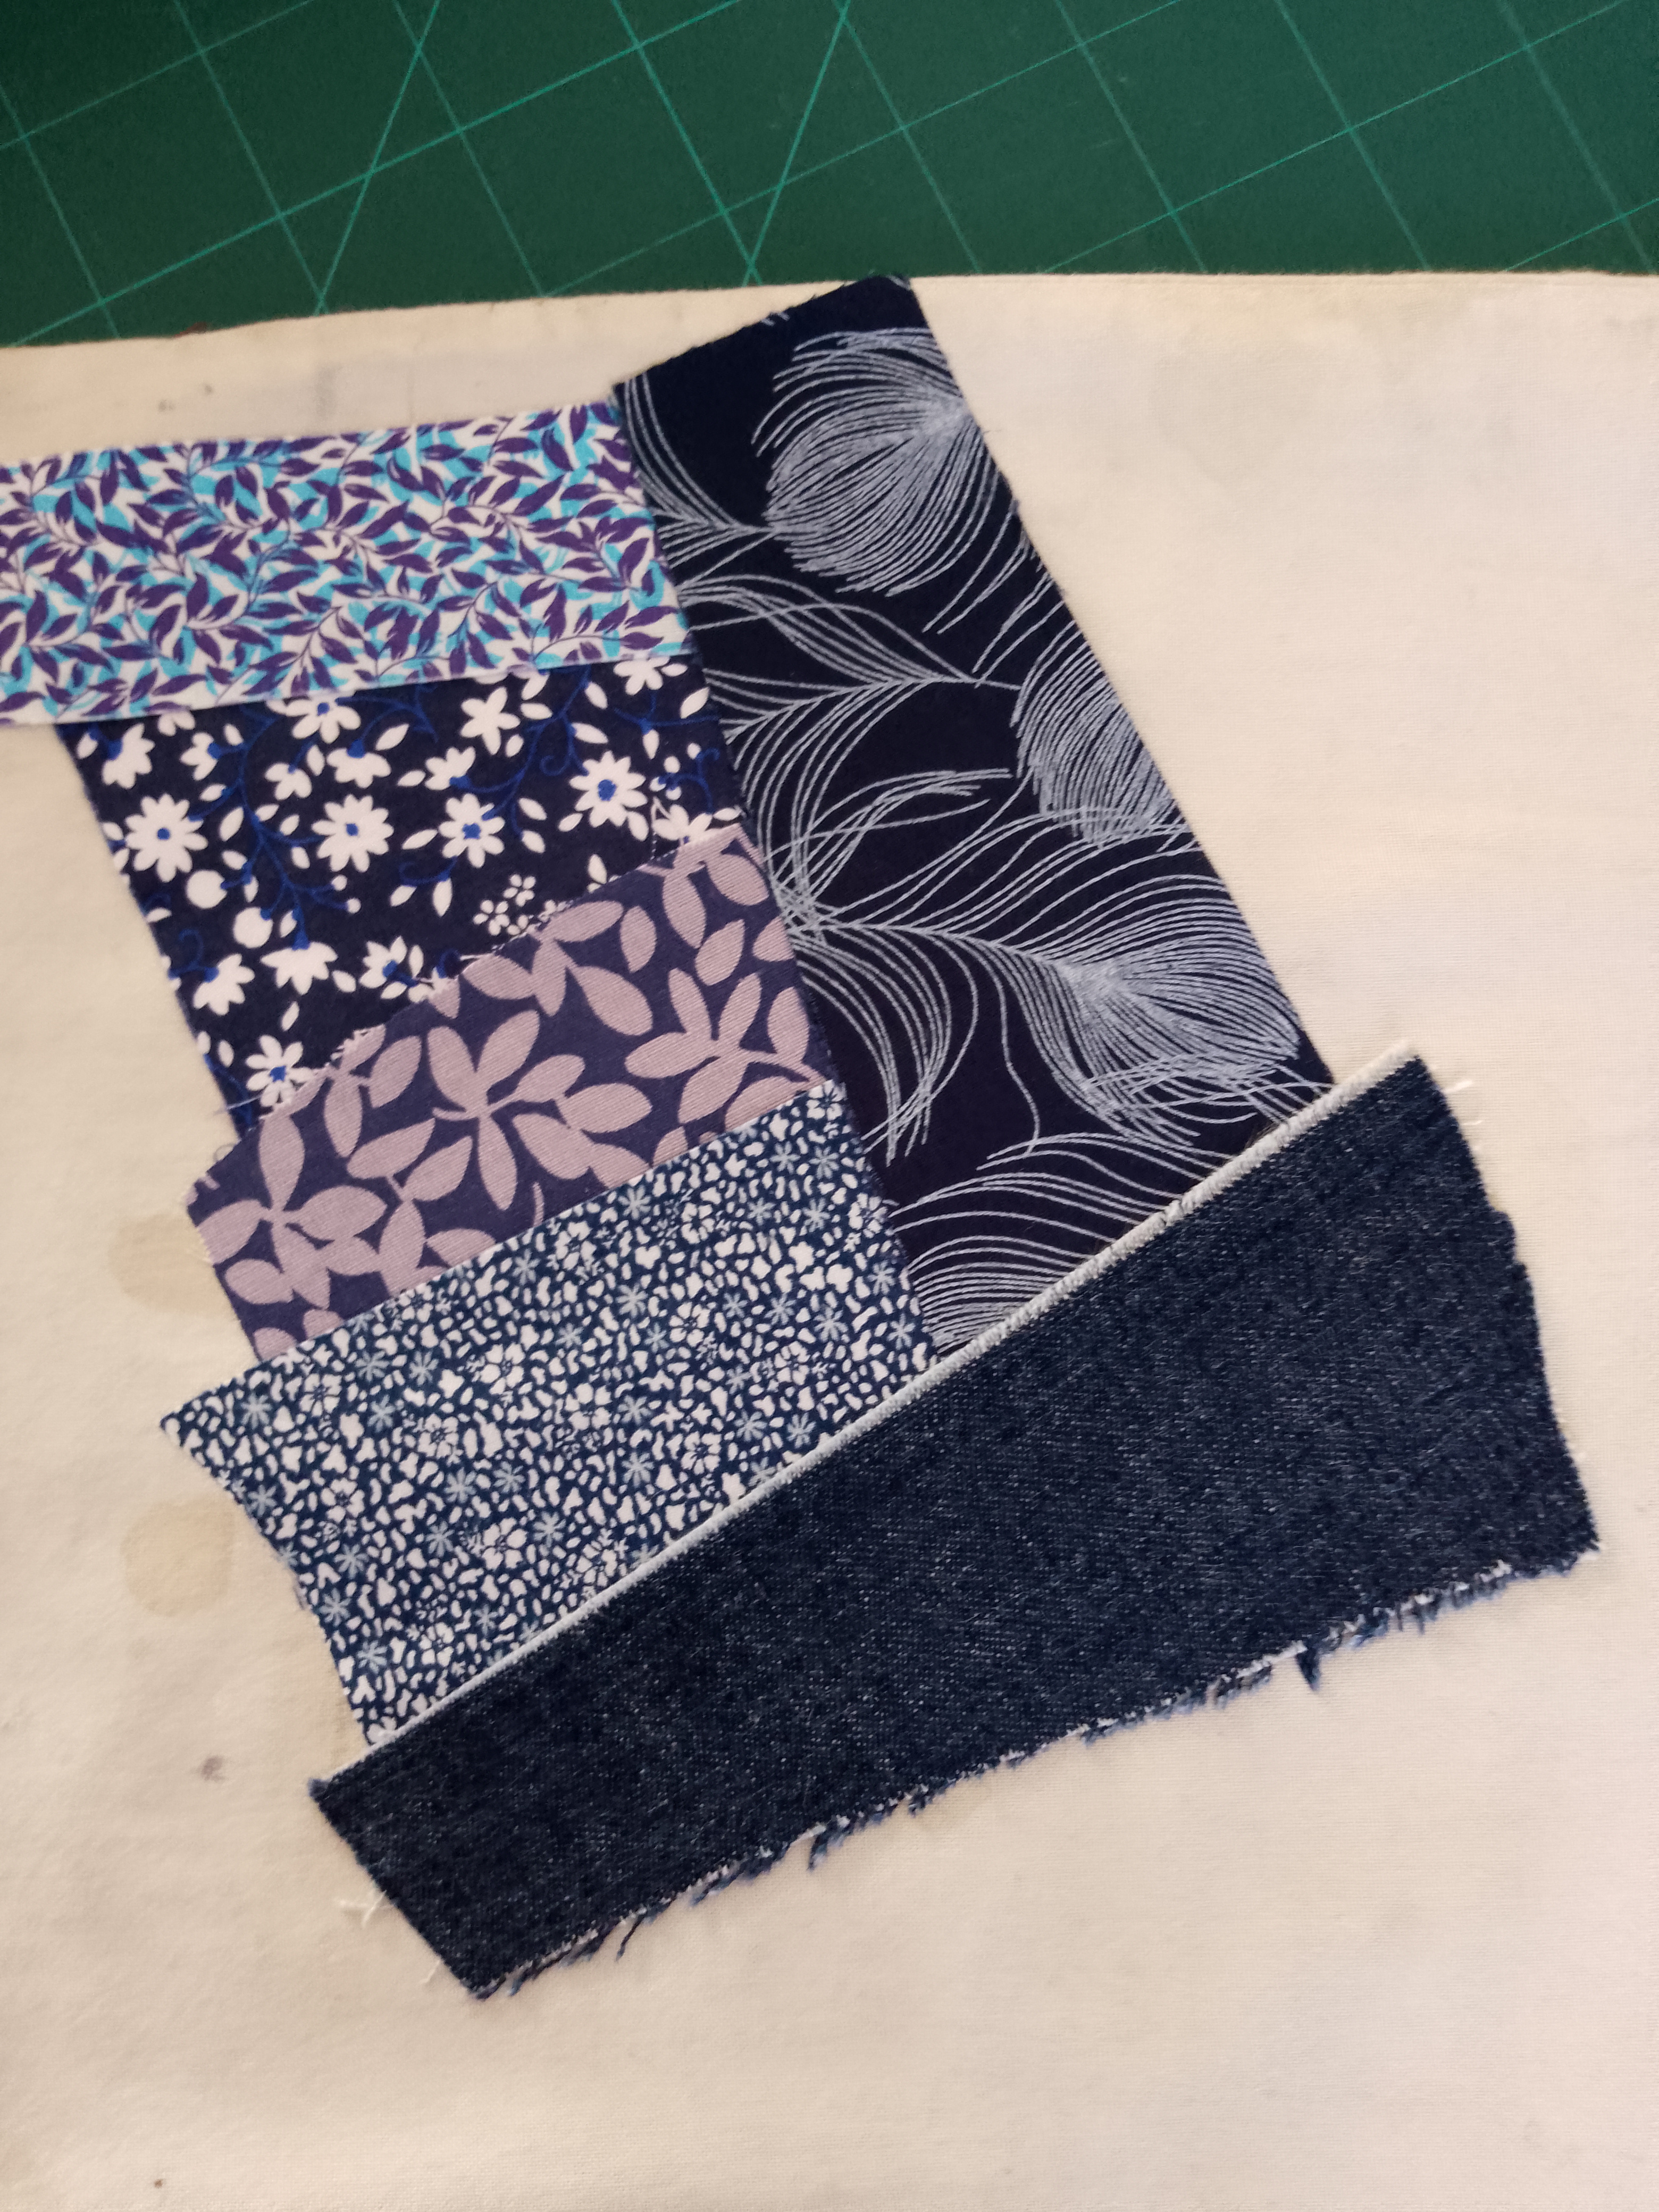
Anyhow, on to craftiness. I've started patching up a shopping bag. It's one of those just-in-case bags that I bet most of us have lying around. It's unbleached cotton, and exactly the right size to fold up and put in a pocket or handbag, just-in-case we're out and about and unexpectedly need to buy something. You might've been given one or more of these bags as a promotional item, emblazoned with a firm's logo.
They're handy, but do have a tendency to look tatty after a while. If you wash them, they often shrink. Which is a drawback. I thought I'd disguise the tattiness with a bit of improv patchwork, lightly gluing scraps of fabric on to the bag or pinning into place, overlapping some edges, leaving others raw.
I'm using a simple running stitch to secure some of the patches, and when the bag's completely covered I'll do horizontal & vertical lines of running stitch to fully secure all of 'em. That'll strengthen the bag, prolong its usefulness and make it look a bit smarter. Well, that's the theory. I'm in no rush to complete this project, and will do it in fits & starts as the mood takes me.
Okay, a break from crafty talk for some greenery. Here's the mint on my allotment, growing like topsy.
Dozens of pink poppies are standing tall.
Here I have Love-in-a-Mist, feverfew and foxgloves, all mixed together in a pretty jumble.
And here's some more Nigella.
Okay, let's finish with some thoughts about weaving. I know, that sounds so random. But I was idling through Instagram and came across an account called Foraged Fibres. Lots of amazing photos of baskets made of foraged plant stems, tree bark etc. There are short videos showing how to process the foraged materials which include brambles, Crocosmia leaves, Ribwort Plantain stems, Iris, daffodils, bindweed and even banana skins. My fingers itched to have a go myself.
So this afternoon, on the walk back from buying groceries, I gathered up various stems and they're drying in my sunny conservatory. Once dried I'll try winding them into cord and string, as per the videos. Even if I don't manage anything as advanced as a basket, maybe I can at least make garden twine. It's always useful to know how to make something, rather than buy a commercial product. Garden twine included.
Will let you know how it goes in the days to come.
Oh, before I go, a confession. I'll failed in my June challenge, of listening to classical music each day, as chosen in Clemency Burton-Hill's 'Year of Wonder' book. I had good intentions, but that particular Not-A-New-Year Resolution has petered out. Oh well, you can't win 'em all.


Comments
Post a Comment