
Saturday stitching and cotton perle


It's a grey rainy morning, and I'm trying to concentrate on pleasant things, instead of the News which is full of the grim reality of armed conflicts overseas.  But that kind of content is for other blogs, ones far more serious and weighty than my ramblings about crafty matters.  
I went to the last of my fabric covered book classes on Saturday, and it was a joy to see all the different ways others presented their books.  My over-the-top creation is the grey and purple one you can see above, and - if the light here improves - I'll try and film a little video on my phone.  Will post that later today or tomorrow.  In the meantime, look at the other books - the one with the eyeballs, the stripes and buttons, and the beautifully embroidered tiger who came to tea.  
No two books were even remotely the same.  
There's a pretty embroidered toadstool, and look at that pretend cassette tape! 
During the class, because I'd worked a lot on my book already, I decided to go off at a tangent.  I started making a simple drawstring bag to put my book in.  I'm machine sewing scraps on to a piece of calico, then embroidering on it in a kind-of Victorian crazy patchwork way.  The bag will be lined and I'll find a suitable piece of ribbon or braid for the closure.  
It'll be a good way to increase my knowledge of embroidery stitches, which is very limited.  As well as attending the class I did succumb to the temptation of Hobbycraft and nipped in for a browse.  That, of course, resulted in me spending money!  
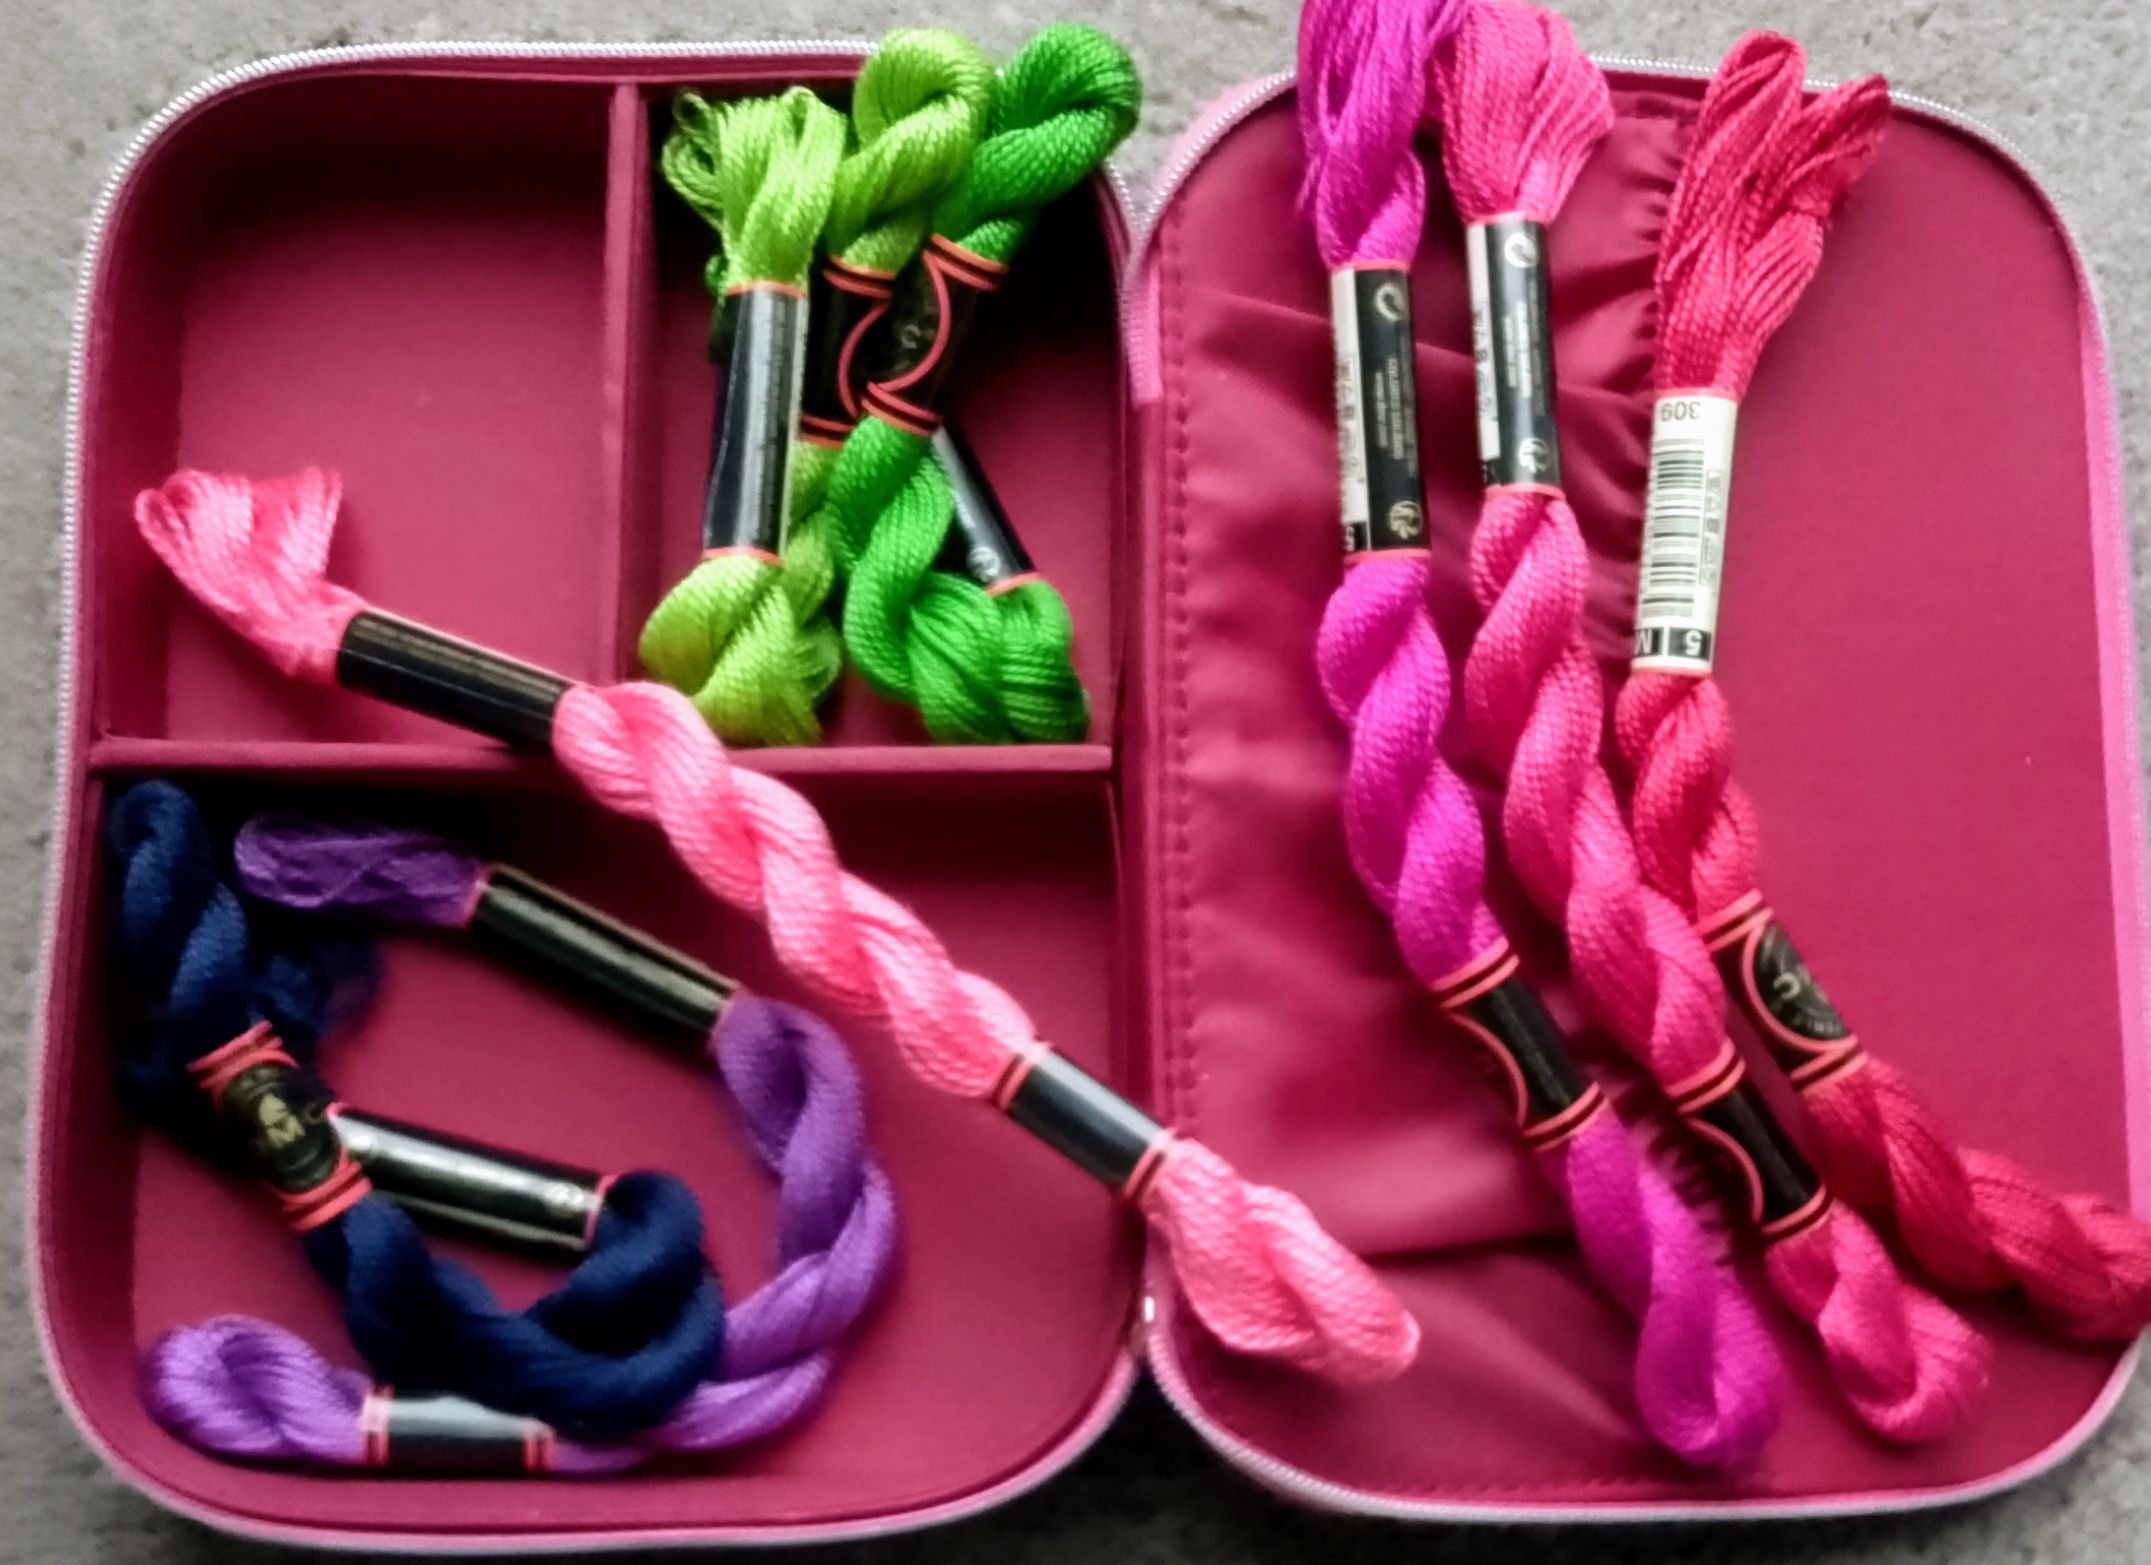
The colours were irresistible.  In my defence I did have a voucher for £5 off if I spent £15, so I paid less than £1.40 per skein for this DMC cotton perle.  

Which was a bargain.  On the subject of bargains my local charity shop's having an 'everything a quid' sale today.  I may have to wander by and see if I can add to my fabric stash, rain or no rain.  I'll let you know if I find any treasures.  
Have a good day! 

Comments

Popular posts from this blog

HOW TO MAKE: these decorative birds

 I suggested yesterday that I'd run through how to make a fabric bird wall or window hanging (can't think of a snappier title for it than that!) so here goes.  I'll start with the first decorative hanging I made.   It's something you could make in any colour combination you want, and would look good hanging at a window with translucent beads that'd catch the light   I used five birds for this, but you could make it longer if you prefer.  (Incidentally, if you're wondering about what's hanging off the bottom on this, it's a metal Christmas decoration, shaped like a lantern.  For some reason I thought it looked appropriate to leave it there, looped over the end.)   WHAT YOU'LL NEED TO GATHER TOGETHER:  Assorted scraps of fabric for the front of the birds - aim for a mix of colours and textures.  Silk looks good, as does anything with embroidery or intricate patterns.  You might aim for a hippy-ish boho look, or maybe you're more the minimal Scandi

Sari scraps, PVA, a couple of books and a necklace

  I'm typing this as snow's falling, and has been steadily all day.  It's not settling to any great extent, though I bet by tomorrow morning the paths will be slippery with ice.  Which always makes me paranoid about falling over and at the very least looking undignified, but at worst breaking a bone or twisting an ankle.  Oh well, it's ideal weather to stay inside and craft, isn't it?  I finally got around to listing packs of sari scraps on Etsy this morning.  I only made up six bundles as I've no clue whether they'll sell or if I've set a reasonable enough price point.  Time will tell.   This is a link to the listing, if you're interested.  This vaguely pink fabric isn't from one of my Etsy packs.  It's from a bit of experimenting I was doing yesterday.  I'd seen a post on Instagram showing how a DIY version of batik could be done without using hot wax.  The Instagrammer used PVA instead, and I wanted to try this out.  The glue's su

Paper flowers, leaves, feathers ...

  I had a few requests after posting this photo on Facebook, people asking if I could explain how I made these paper flowers. Your wish is my command, and here's the info.  It's all very simple and you don't need any advanced drawing skills.  So grab a stack of gell prints, a pair of scissors and off we go!  The type of print that seems to work best is one where there's a fair amount of detail, rather than a block of solid plain colour.  Prints where you've maybe channelled your inner Elizabeth St. Hilaire and 'layered layered layered' as she's always urging us to do.  POPPIES If we start with simple poppy seed heads and stalks, they're cut freehand from paper that's mainly shades of orange and brown.  I glued those on to a sheet of white copier paper, then cut them out, leaving a narrow border around each.  Backing the gell print with the white paper adds that contrasting border, but also strengthens the piece, especially the thin stalks.   I